Deploy Sync App on Service Provider Azure Subscription
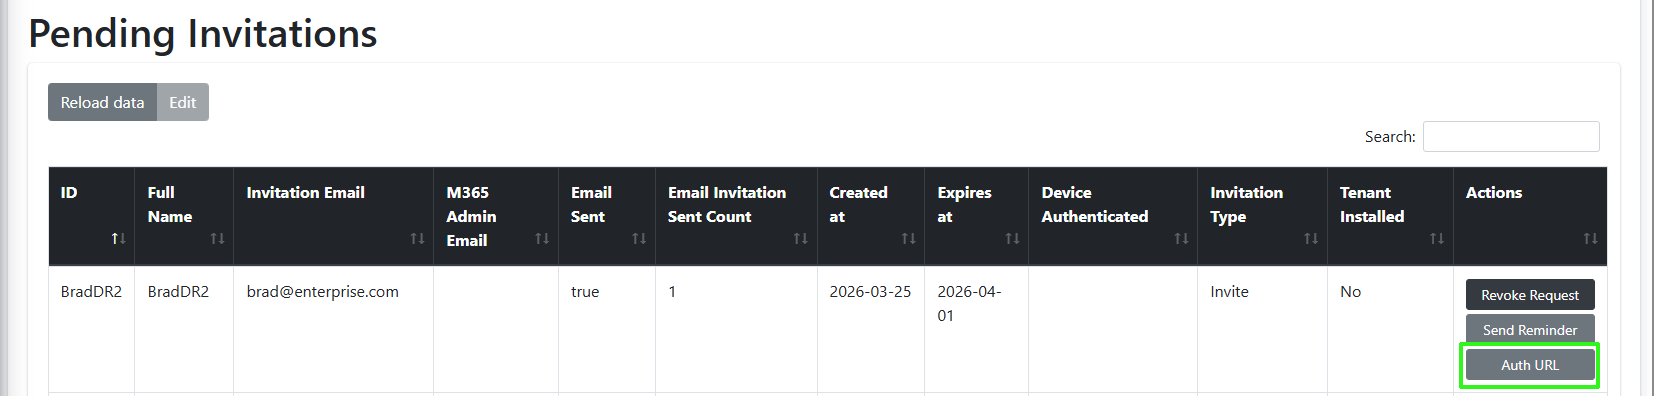
The Delegated Token Synchronization App registration is used to secure a Token invitation link to the Invitation wizard for performing customer Onboarding for Direct Routing services. You must add this registration on the service provider tenant’s Microsoft Entra ID for each managed UMP-365 instance. The registration includes the configuration of an Authentication Portal URL (Token Invitation link) to the Invitation wizard that is sent to the customer M365 tenant global admin email account (also accessible from the Pending Invitations page, see figure below. In addition, the registration also includes the configuration of a Redirect (OAuth2Callback) URL which redirects the Microsoft authentication process back to Live Platform when the customer creates a new registration (Delegated Token or App registration) on their Microsoft Entra ID tenant from the Invitation wizard. This registration is then used to complete the Onboarding of the Direct Routing services and for Background task replication synchronization in day-to-day operations.
|
●
|
This procedure is for creating the registration on the Service Provider Azure subscription. |
|
●
|
If this procedure is performed by AudioCodes Professional Services, a Global-admin account should be provided by the managed customer. This global registration is used for all AudioCodes Live Direct Routing customers. |
|
●
|
The domain names shown in the procedure below are examples only. |
|
●
|
For each customer, a unique redirect URL is defined. |

|
1.
|
Sign-in to Microsoft Entra ID for the Service Provider operator tenant with Global Admin permissions. |
|
2.
|
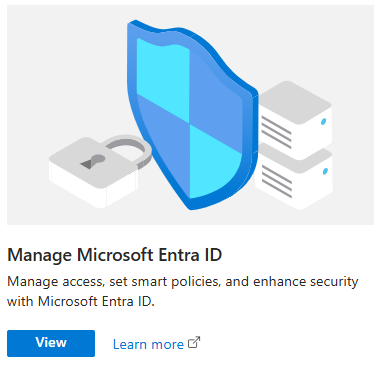
Click View to the Microsoft Entra ID interface. |
|
3.
|
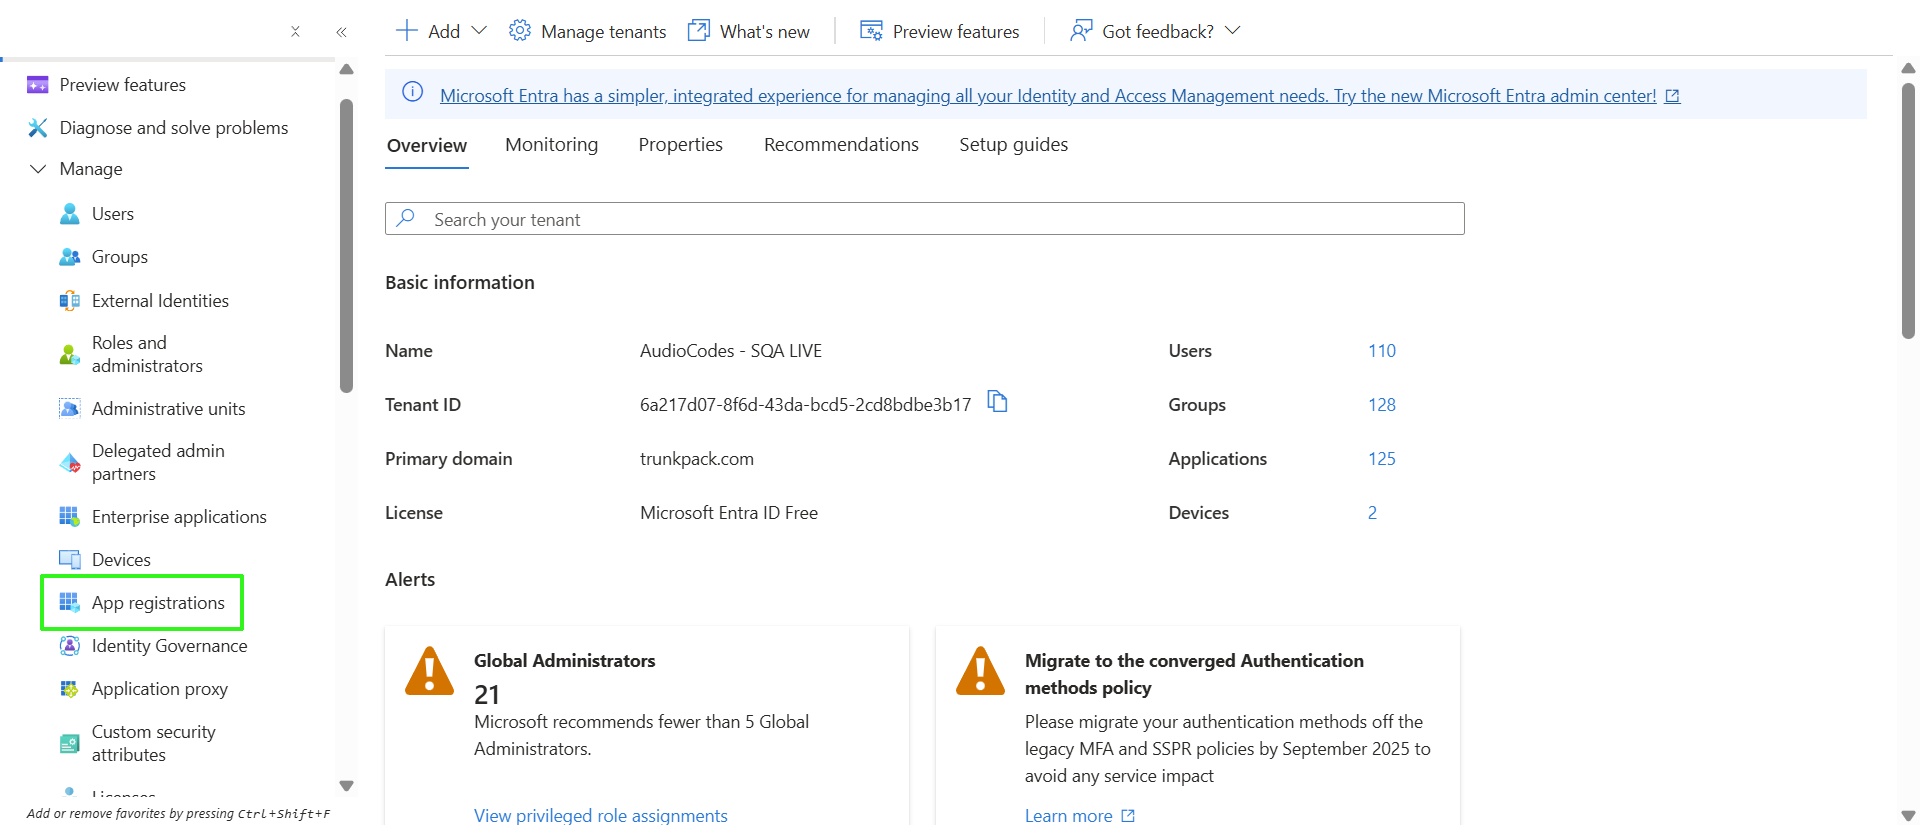
In the Navigation pane, select Manage > App registrations. |
|
4.
|
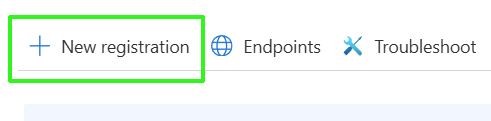
Click New registration. |
|
5.
|
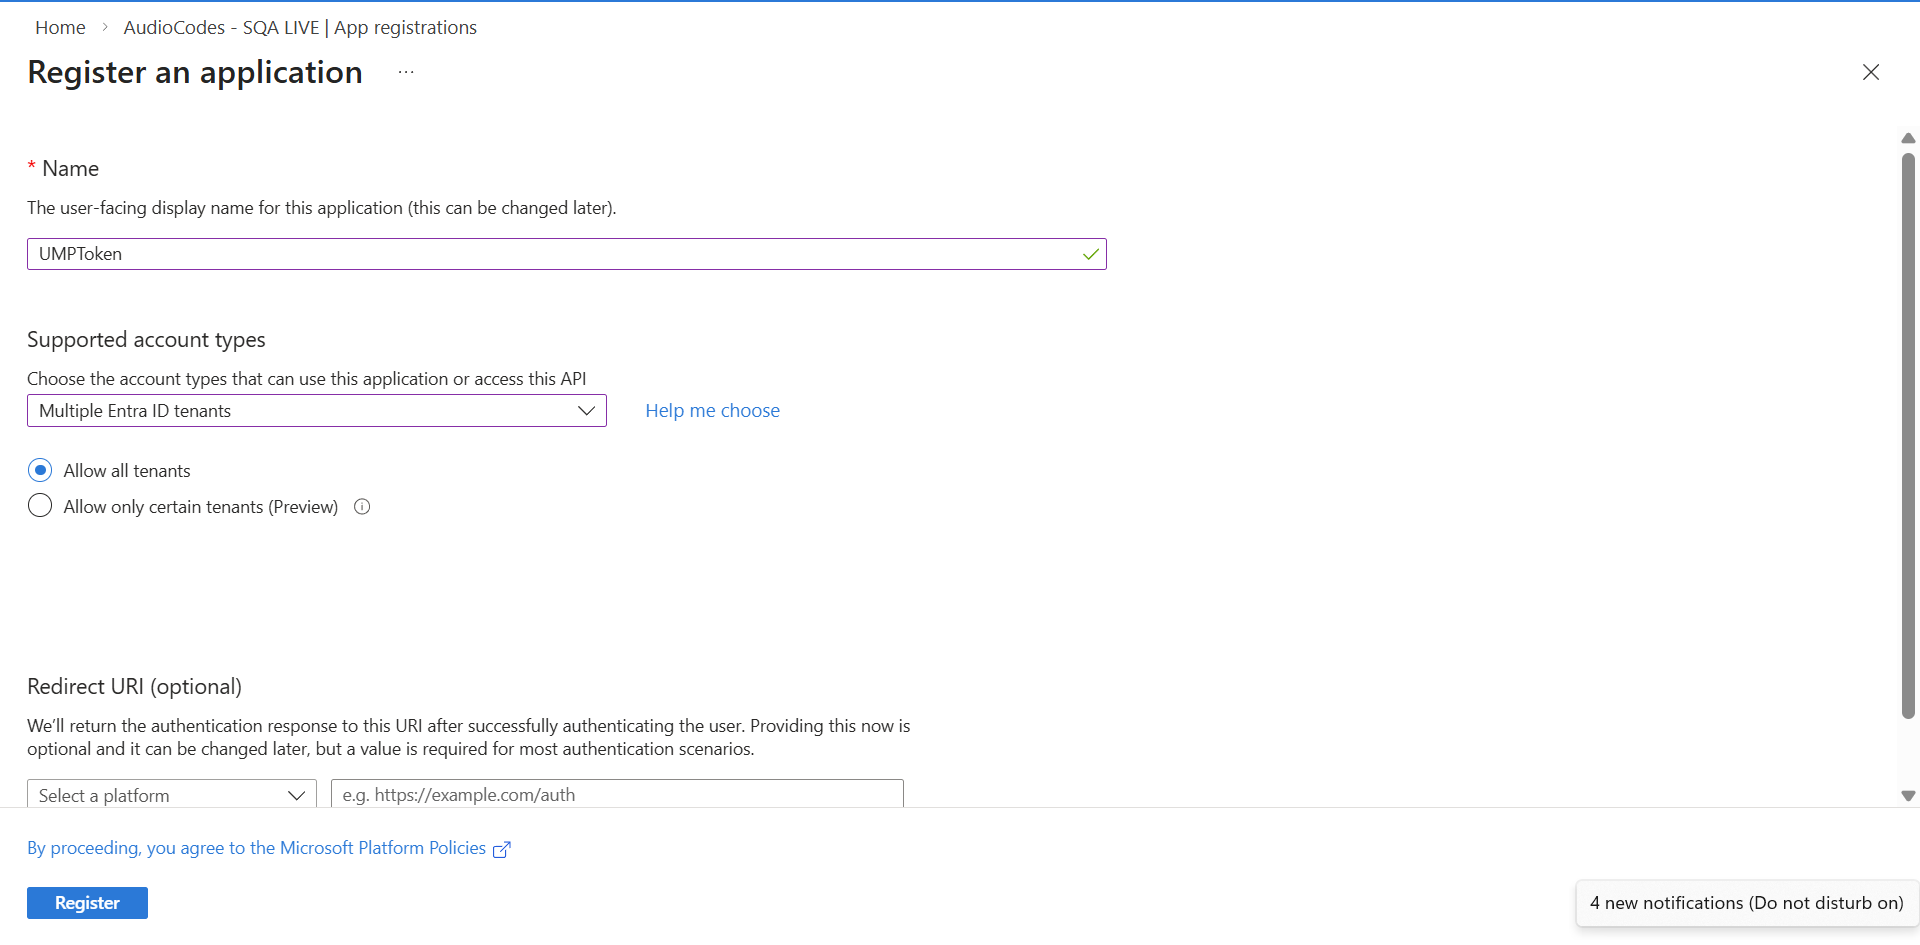
Enter the following details: |
|
●
|
Name: App registration name |
|
●
|
Select account type: Multiple Entra ID tenants |
|
6.
|
Click Register. The new App registration is displayed. |
|
7.
|
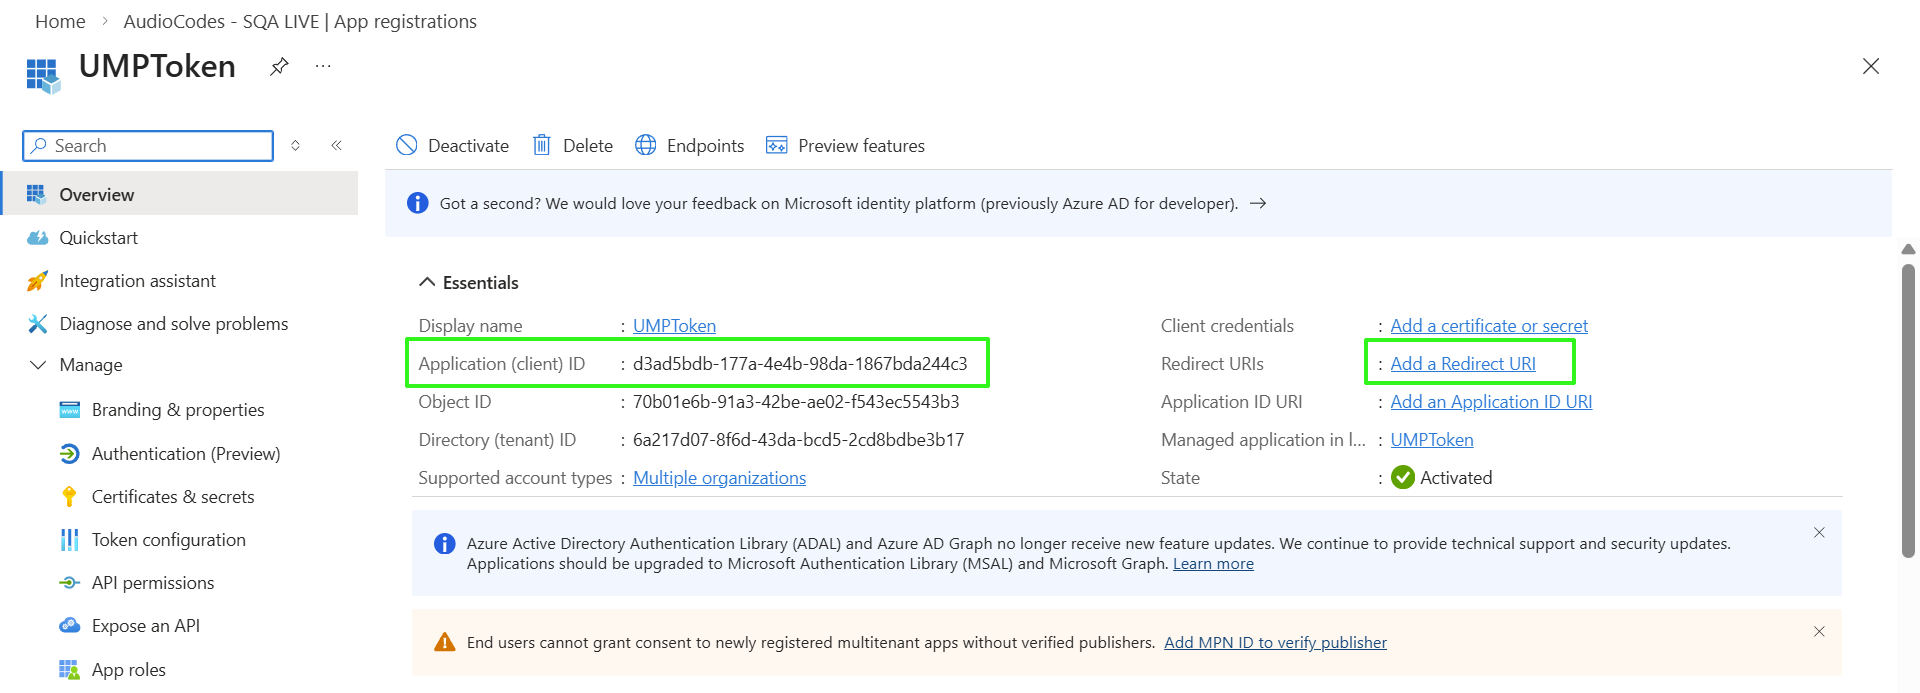
Copy the Application (client) ID value to notepad as you need to configure it later in this procedure. |
|
8.
|
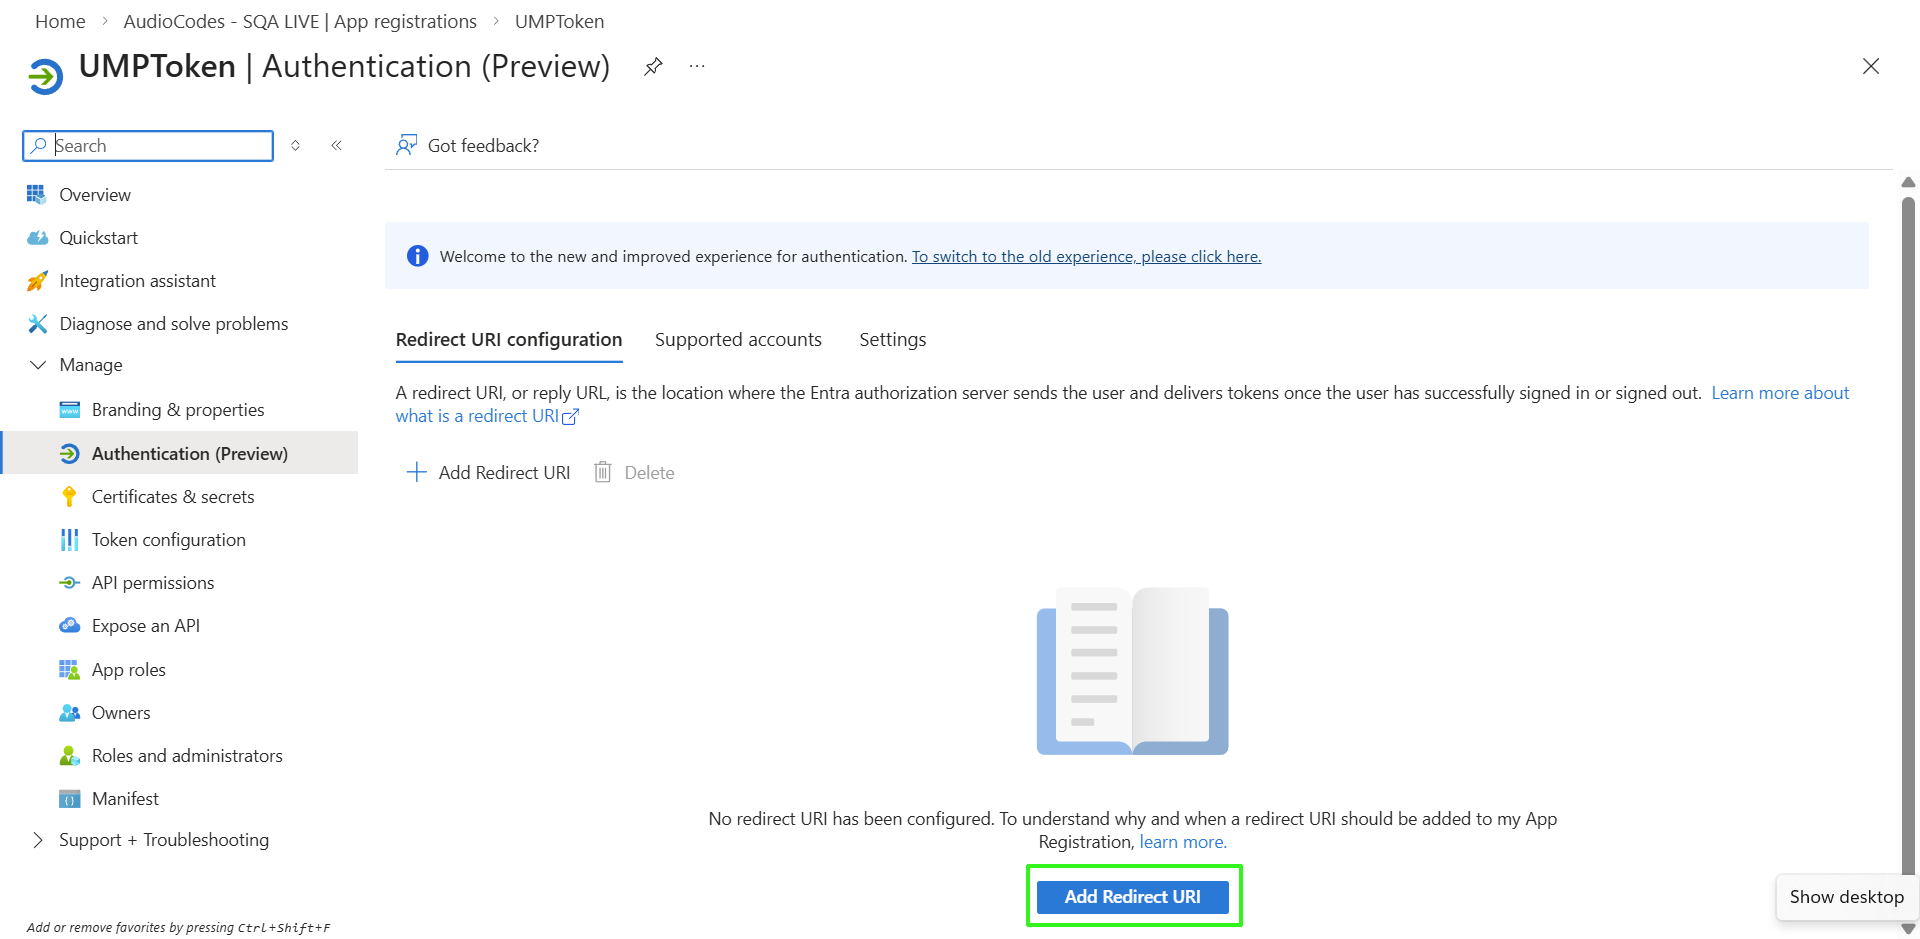
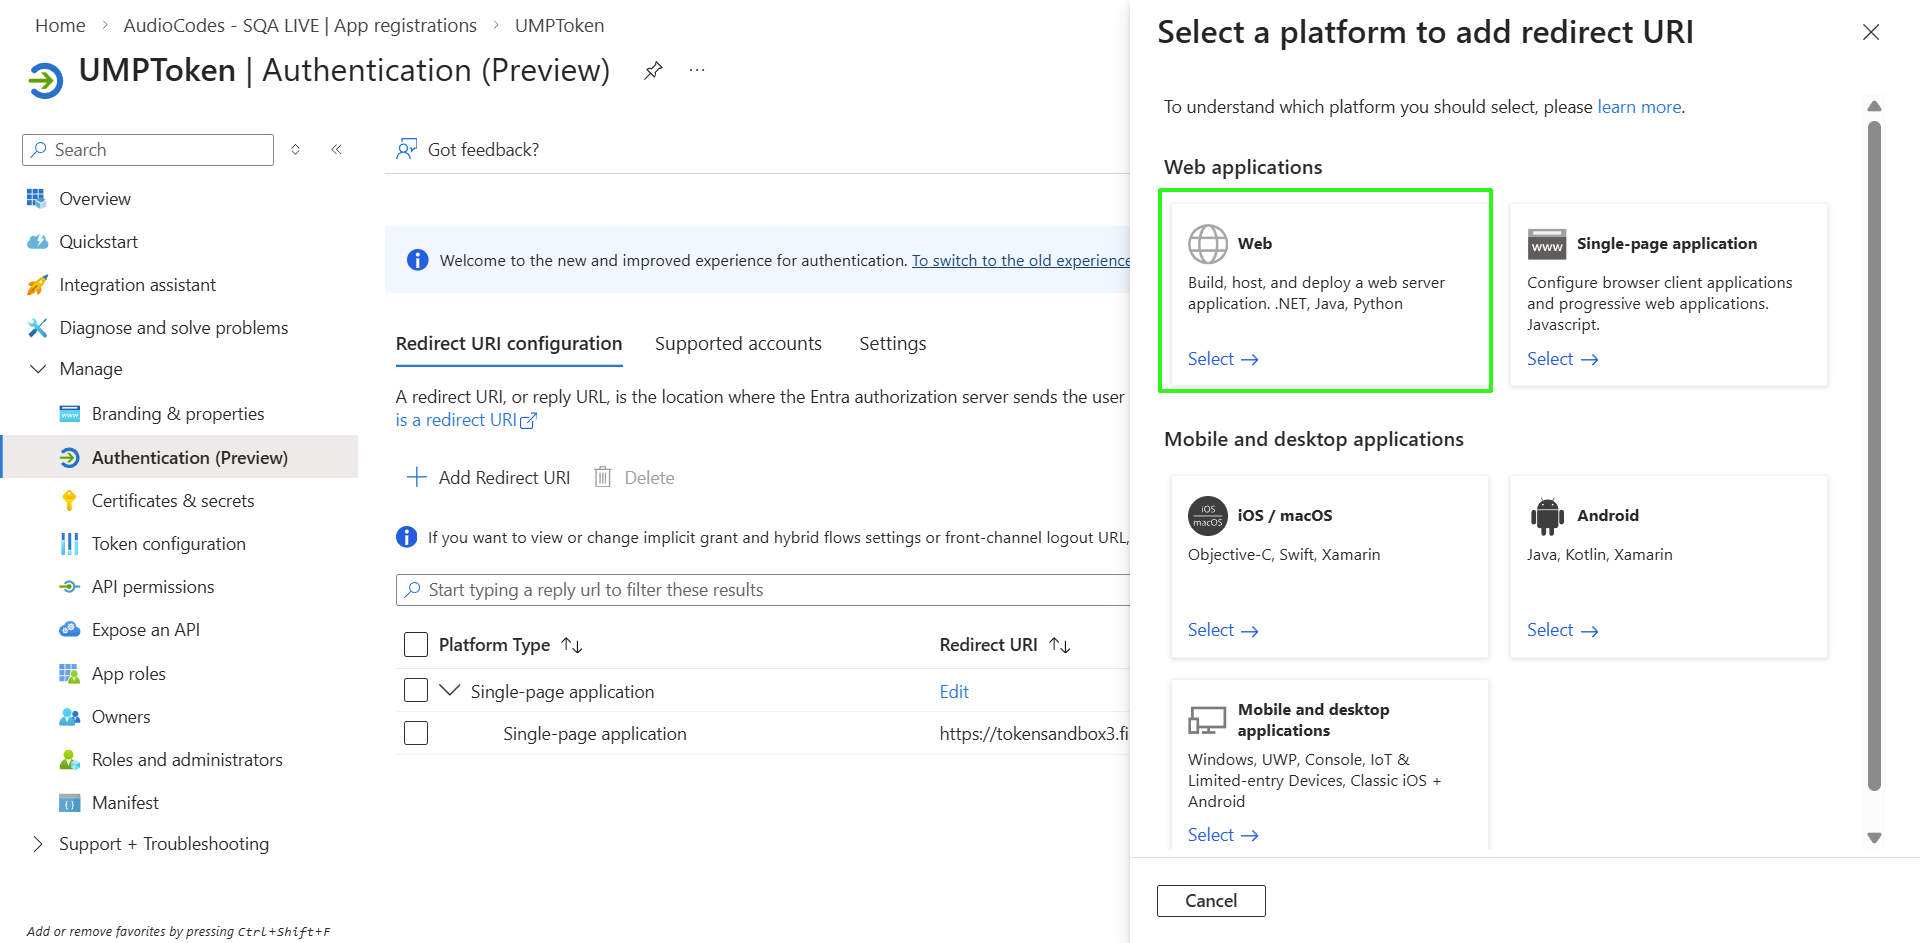
Click the Add a Redirect URI link to add the Redirect URI. The Authentication (Preview) screen is displayed. |
|
9.
|
Click Add Redirect URI. |
|
10.
|
Select the Web option. |
|
11.
|
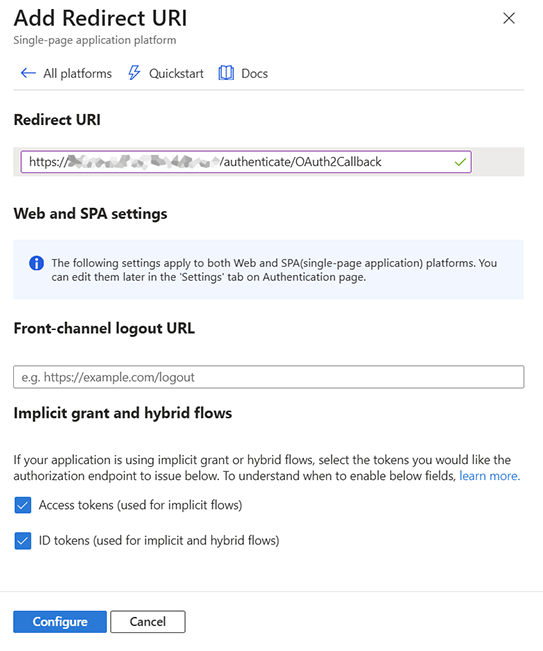
Enter the Redirect URL in the following format: https://<appname>.<serviceproviderFQDN>/authenticate/OAuth2Callback |
For example: " https://umptoken.finebak.com/authenticate/OAuth2Callback"
where:
|
●
|
<appname> is the name of the Delegated Token app. |
|
●
|
“OAuth2Callback” is the name of the Token Authentication page inside the registered application |
|
●
|
The "https://umptoken.finebak.com/authenticate/OAuth2Callback" Redirect (OAuth2Callback) URL is used by Microsoft to redirect back to Live Platform during the creation of a new registration on the M365 customer tenant. |
|
●
|
The "https://umptoken.finebak.com/authenticate" Authentication Portal URL is the Token Invitation link to the Invitation wizard that is sent to the global admin of the M365 customer tenant at the beginning of the onboarding process. |
|
12.
|
Copy the URL values to notepad as you need to configure them later in this procedure. |
|
13.
|
Under 'Implicit grant and hybrid flows', select the following: |
|
●
|
Access tokens (used for implicit flows) |
|
●
|
ID tokens (used for implicit and hybrid flows) |
|
15.
|
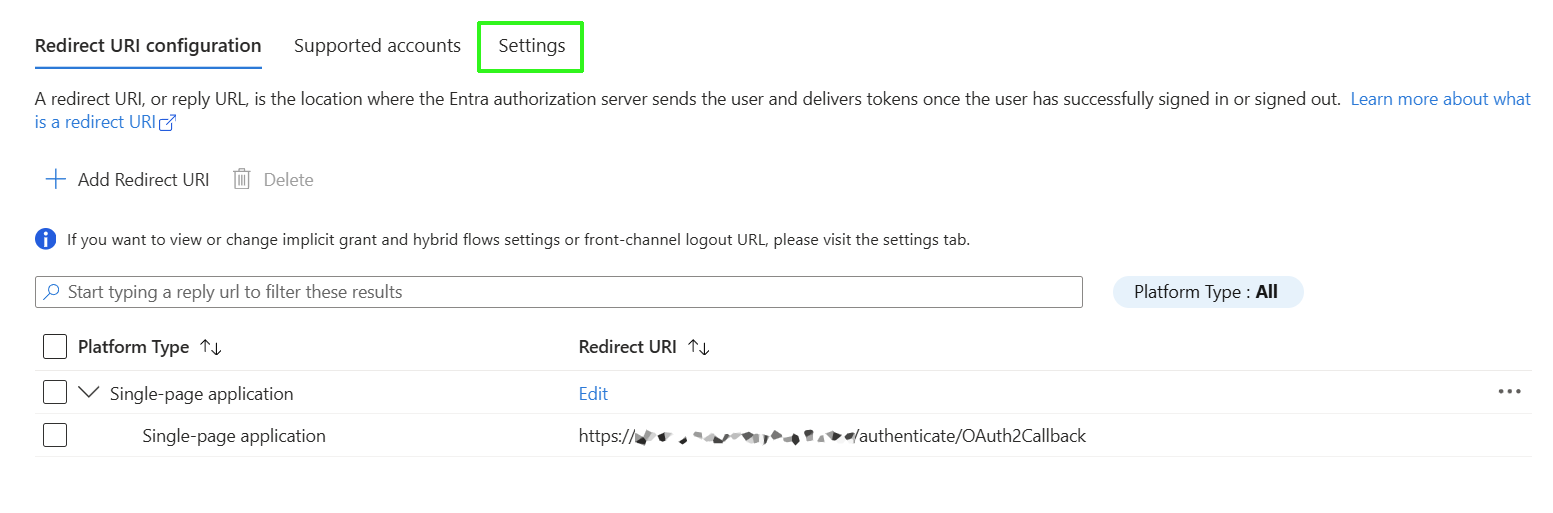
Click the Settings tab. |
|
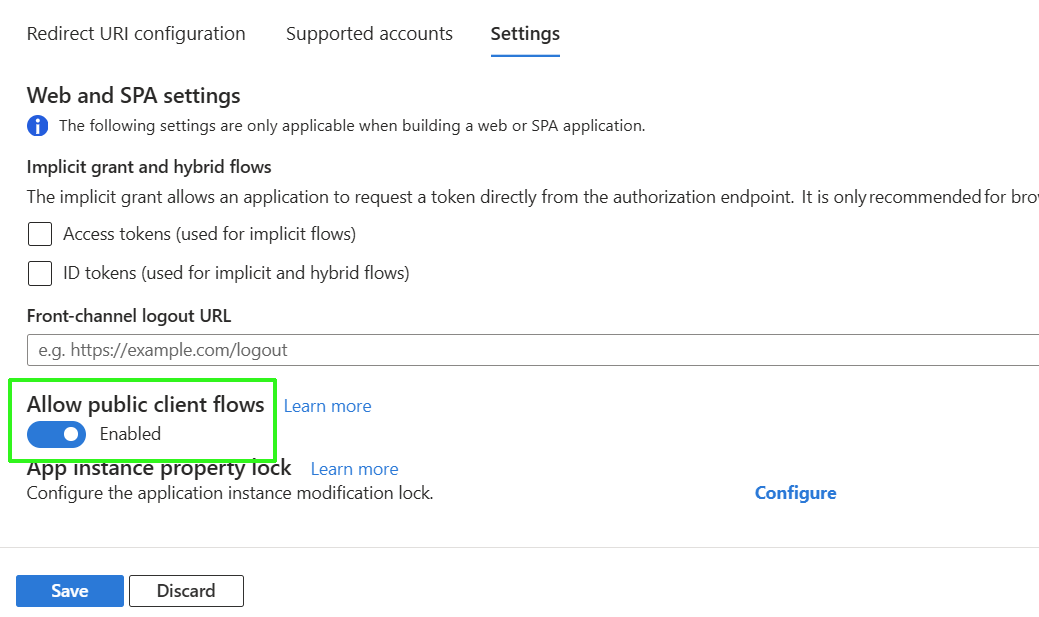
16.
|
Enable Allow public client flows and then click Save. |
|
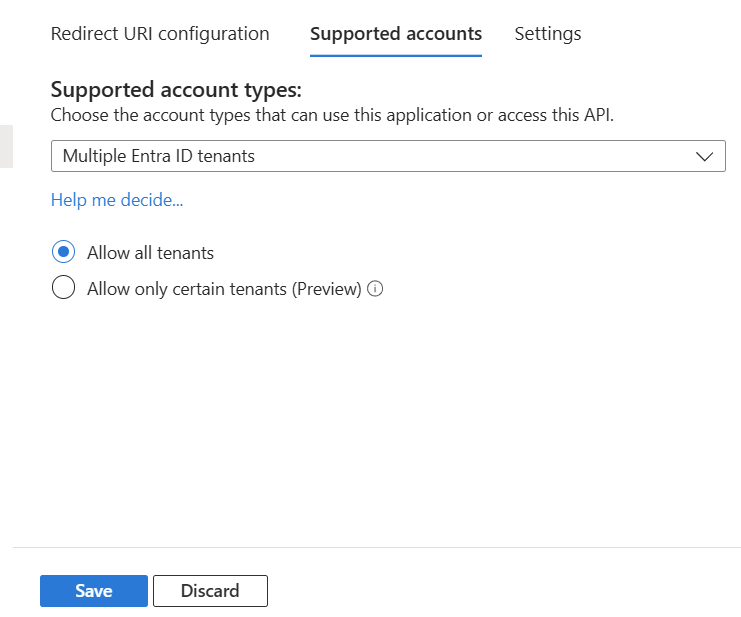
17.
|
Click the Supported accounts tab, select Multiple Entra ID tenants and then click Save. |
|
18.
|
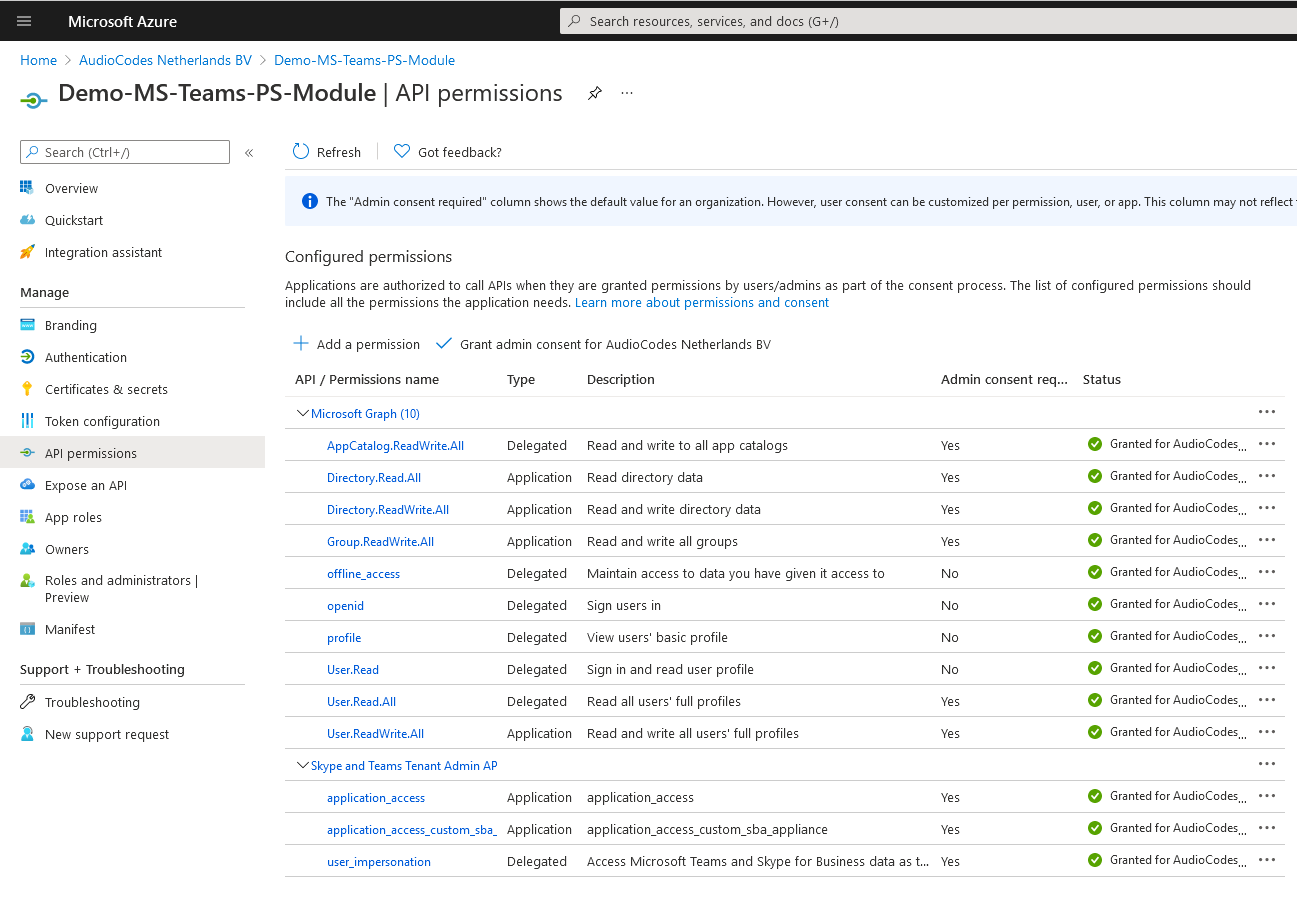
In the Navigation pane, select Manage > API Permissions and set the following permissions: |
|
◆
|
AppCatalog.ReadWrite.All: Read and write to all app catalogs |
|
◆
|
offline_access:
Maintain access to data you have given it access to |
|
◆
|
profile:
View users' basic profile |
|
◆
|
User.Read: Sign in and read user profile |
|
◆
|
User.Read.All:
Read all users' full profiles |
|
◆
|
Directory.Read.All:
Read directory data |
|
◆
|
Directory.ReadWrite.All:
Read and write directory data |
|
◆
|
Group.ReadWrite.All:
Read and write all groups |
|
◆
|
User.ReadWrite.All:
Read and write all users' full profiles |
|
19.
|
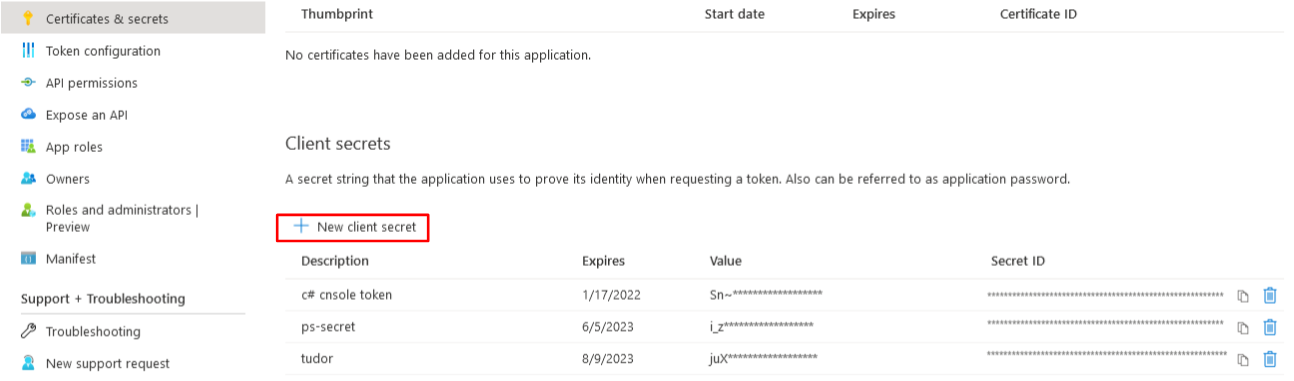
In the Navigation pane, select Manage > Certificates & Secrets and then click New Client secret. |
|
20.
|
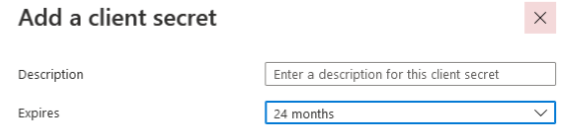
Enter description, set Expires to 24 months and then click Add. |
|
21.
|
Copy the newly generated secrets’ Value to notepad. |

|
●
|
Copy the value immediately to notepad as it hashed after a short time. |
|
●
|
If you use the Application registration to create additional services, a new secret should be created for each new service. |
|
22.
|
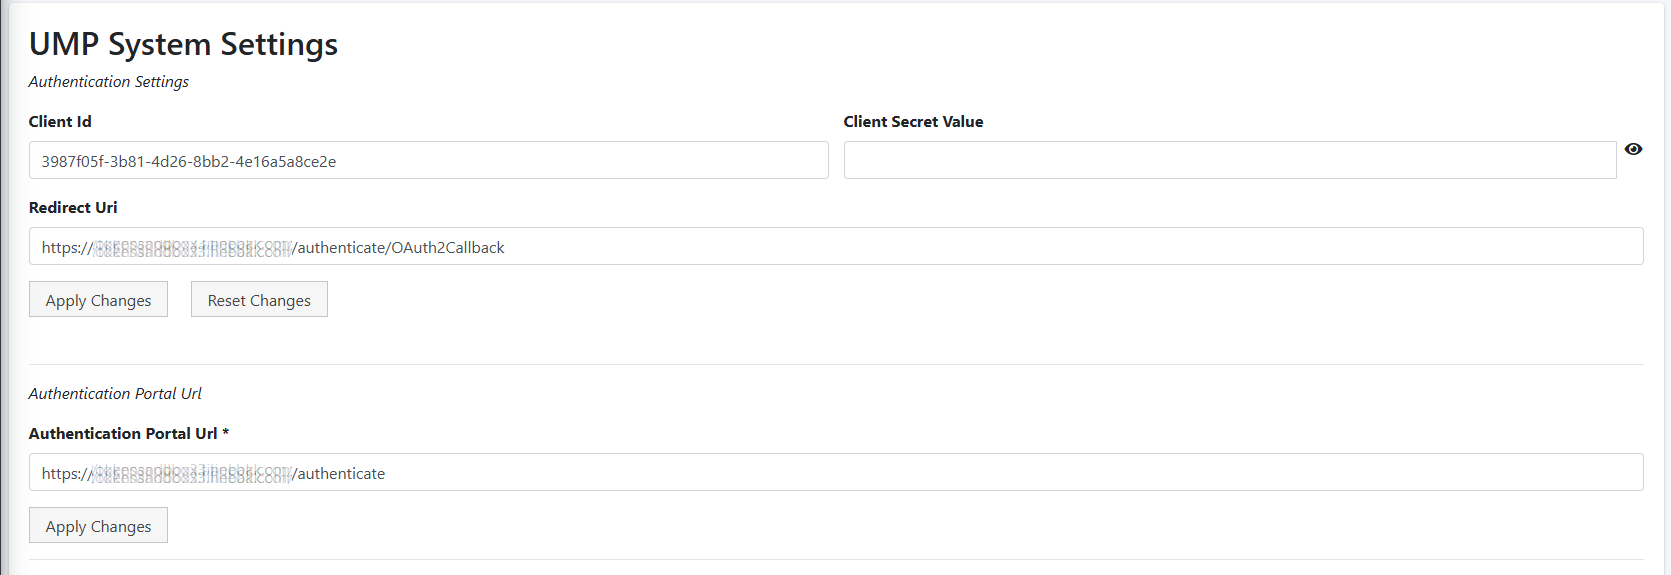
In the Multitenant portal, open the System Settings page (Configuration > UMP > System Settings ). |
|
23.
|
Paste the Application (client) ID, Client secret and Redirect (OAuth2Callback) URL that you saved to notepad to the respective fields, and then click Apply Changes. |
|
24.
|
Paste the Authentication portal URL that you saved to notepad and then click Apply Changes. |